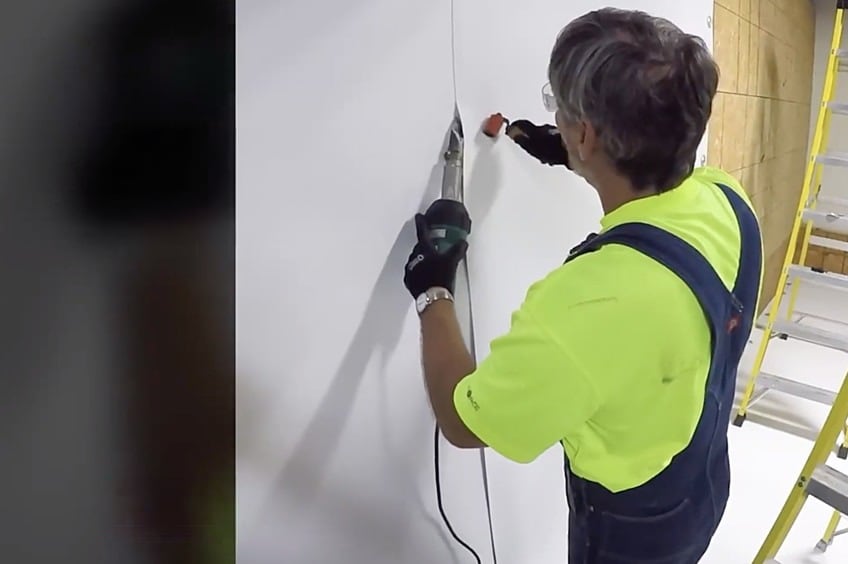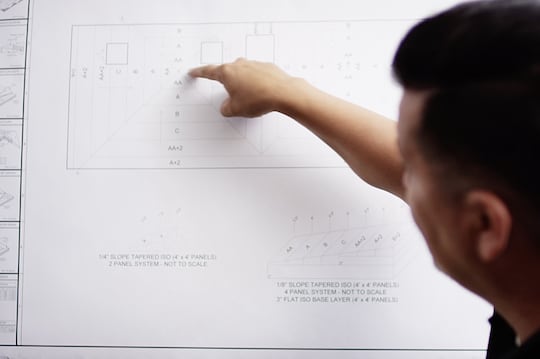
Roof to wall flashing is critical to the performance of every single-ply roofing system. These transition points, where the flat part of the roofing system is tied into the parapet wall, are potentially vulnerable areas for water intrusion. Following the requirements for proper flashing can help ensure that the roof system offers better protection.
How do you install flashing on the wall and roof? Seasoned roofing industry professional Dave Scott of Roofing it Right with Dave and Wally talks through the various roof flashing methods and shares tips for success in a recent webinar.
High Wall Flashing with Screws and Plates
GAF Everguard™ TPO or PVC single-ply roofing systems require flashing between the flat roof surface and the adjoining wall. When using plates and fasteners, Dave refers to GAF detail 317C, High Wall Flashing with Plates and Fasteners.
EnergyGuard™ polyiso insulation should act as the base layer where the roof meets the bottom of the wall. The detail indicates that the insulation should not be greater than 8 inches. As Dave explains, "The reason you don't want the insulation to be thicker than 8 in. is because of the pendulum effect on your fasteners. As the sheet billows or moves, the fastener could lean, causing an egg shape in the hole, and your uplift resistance isn't what it should be."
Using Drill-Tec™ fasteners and plates, a reinforced membrane should be installed over the insulation, 12 in. on center. Another layer of reinforced membrane goes over that, extending up the wall and leaving a 6-in. lap on the roof so that it can be heat-welded into place. The membrane is attached to the wall using the fasteners and plates, again at 12 in. on center for base attachment.
Contractors have an alternate option for the base layer when installing roof to wall flashing: rather than using plates and fasteners, Dave says that opting for a termination bar is an option, as long as it is not higher than 3 in.
The next layer of membrane goes onto the wall, covering the first row of fasteners. Dave explains that up to 24 in. in height, the membrane can be dry hung on the wall. "If you are dry hanging the wall flashing, you are using a 30-in. sheet with a 6-in. lap. Basically, a 30-in. sheet is a half sheet, which is a 5-foot sheet cut in half. You'll have 30-in. flashings up the wall with a 24-in. reveal."
It is crucial to remember to use EverGuard Cut Edge Sealant on all cut edges of the reinforced TPO membrane.
High Wall Flashing with 10-ft. Wide Sheets
In detail 317A, Dave reviews the steps for high wall flashing using 10-ft. sheets.
The steps are similar to those of 317C: a base layer of EnergyGuard polyiso and then a layer of reinforced membrane, attached using fasteners and plates. With 10-ft sheets, the next step requires that EverGuard Bonding Adhesive be applied to the roof and the wall, followed by the installation of the 10-ft wide membrane.
Plates and fasteners get installed at the seam—vertically up the wall at 12 in. on center and a minimum of 10 ft. from any corner or end of wall. Laps are heat-welded, and the process continues until the wall flashing is complete.
"The maximum parapet wall height is not to exceed the width of a 10-ft. sheet," Dave notes. "You're going to have 6 in. on the deck, so on a 10-ft. sheet that gives you 9 [ft.], 6 [in.], so hopefully you can get over the top and install a cap."
A termination bar is acceptable at the top if the sheet is not able to go up and over, according to Dave.
High Wall Flashing with 5-Ft. Wide Sheets
Drawing 317B reviews requirements for high wall flashing with 5-ft. wide sheets of membrane.
It begins in a familiar way: with polyiso and membrane attached with fasteners and plates. The 5-ft. wide sheets are run vertically up the wall and attached with 12-in. on center fasteners also running vertically up the wall. Sheet laps are heat-welded, and the fasteners continue with vertical attachments spaced every 5 ft. along the wall.
Dave likes the versatility of the 5-ft. wide sheets. "The beauty of this is you can go as high as you want. If you have a 15-ft. wall, you can run a five-footer all the way to the top of that 15-ft. wall, and you don't need glue," he says.
Intermittent Fastening and Vertical Sheet Layout
Fastening patterns are key to the success of the system. Detail 317D shows the unique placement of the fasteners as well as how attachment plays a critical role at the corners and the ends of the building.
As Dave explains, "The first three sheets from each end of the building require a row of fasteners, 12 in. on center. Once you reach the interior corner, three sheets out from the corner each way also require the fasteners."
EverGuard cover tape or an 8-in. flashing strip should be installed over the fasteners. However, Dave notes that the fasteners being midway up the sheet make it conducive to using RhinoBond® to avoid penetrating the membrane.
Details matter when it comes to roof flashing. Fortunately, the experts at GAF are on hand to help you determine the best methods and find success. For more information on roof to wall flashing, register to view the full webinar. For additional courses and training opportunities, visit www.gaf.com/care.


