

As the winter season approaches, decorating your home with lights is a classic way to show your holiday spirit.
However, there are right and wrong ways to go about this (National Lampoon's Christmas Vacation, anyone?)—and, depending on your roof, the correct ones may not always be easy to accomplish on your own. To help, here are five tips to simplify your annual holiday light installation so you can make your home merry and bright without damaging the roof — or yourself!
1. Keep Safety In Mind
Prioritize safety throughout the entire process of installing holiday lights. Start by making it a team effort — as you decorate, have a partner with you at all times to hold the ladder (for instance) and help in case of emergencies.
Speaking of stepladders, take a refresher on safety with these OSHA guidelines, which include common sense tips such as ensuring your shoes have a strong grip to prevent slipping on the steps, maintaining a 3-point contact with the ladder when climbing or descending, and avoiding wearing loose clothing — which could get tangled or caught on something. Avoid stepping on the roof; instead, install the lights from the ladder. It's less dangerous, and old roofs may not be strong enough to support foot traffic without sustaining shingle damage.
You should also choose a dry day to hang up the lights. If it rained the day before, wait a couple of days until everything dries out. Similarly, avoid days with high winds. Wind makes putting up lights more complicated — and much more dangerous.
2. Measure Adequately
The old adage "measure twice, cut once" also applies to buying materials. Before you buy any lights or tools, measure your area — more than once — so you know exactly what you need. Most holiday light bundles will tell you the number of lights they come with and the cord length; you'll likely just need to calculate how much cord you'll need to buy based on your perimeter.
Using a measuring tape, measure the length from the ground to your roof eaves for any vertical sides where you plan to add lights. You may need to get on a ladder for this, so make sure your installation partner is close by. While you're on the ladder, you can estimate the length of nearby roof valleys as well as taking the opportunity to clean out any debris and leaves in the gutters (we advise using gloves!). From the ground, you or your installation partner should measure the horizontal side length for the gutters and shingles. If you plan on adding lights along the roofline, measure that portion as well.
No matter how confident you are, anyone can make miscalculations. It's a good idea to buy a few more feet of lights than you estimated you may need.
3. Use the Proper Tools
You can easily damage your roof by installing lights incorrectly. One of the crucial things to avoid while decorating is stapling or nailing lights to your shingles and gutters. These punctures can cause openings in the roofing material that lead to water leaks.
Even the smallest holes can allow water to seep into your home and deteriorate the roof decking below the shingles. Small openings also allow cold air to flow in and reduce the overall energy efficiency of your home.
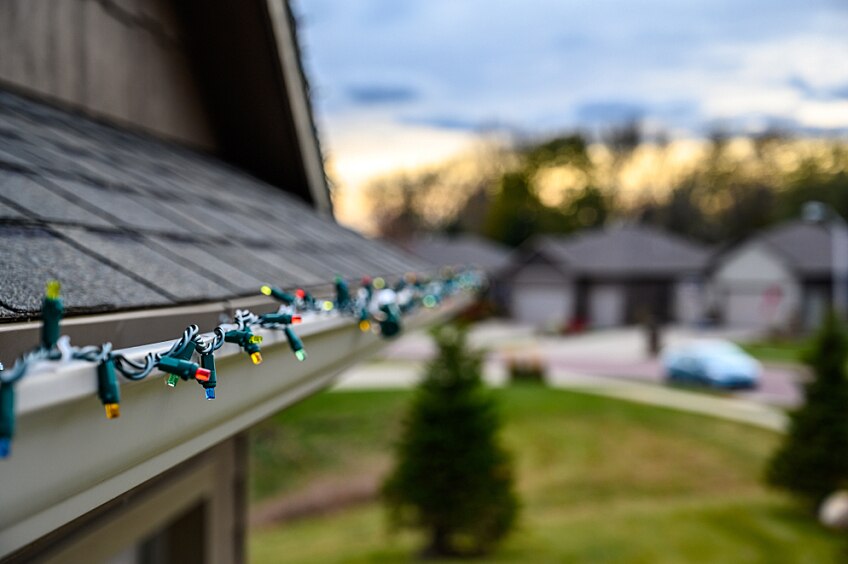
Instead, hang up lights and other decorations using universal clips. These clips attach to the shingles and gutters, allowing you to hook the lights up without punctures. You can find universal clips that let you hang up any type of light. However, some lights may already come with them.
4. Choose the Right Lights
Before you buy your holiday lights, check whether they're designed for outdoor purposes. Some lights are safe for use both indoors and outdoors, while others are only meant for one or the other.
Use the same lights across the entire area to ensure you're getting the same light color for everything. Don't always assume lights are the same color — LED lights aren't always white, and lights of all kinds come in different shades.
If you plan on using lights from the previous year, check that there are no damaged cords. Exposed wires can cause the lights to stop working or even create a fire hazard.
Avoid heavy lights, which can loosen or damage the gutters if they weigh too much. For added convenience, it may be best to choose lights that already come with clips included in the bundle.
5. Install with Consistency
Once you have your tools and lights ready, be consistent in how you install the lights. Horizontally, you can start from left to right or right to left, but make sure to go from top to bottom.
Start by attaching the universal clips to your shingles or gutters anywhere from 6 to 8 inches apart from one another before hooking on the lights. If you want to attach lights around windows, use tape to secure them and space them out the same length as the clips. Ensure that all the lights are pointed the same way, either upward or downward.
Every year is a fresh chance to improve your decorations — and the way you install them. Keeping safety and consistency in mind will give you a smoother holiday light installation process and a better shot at impressing the neighborhood during your winter festivities.

